In this article, we will see how to customize our terminal prompt and add a random emoji in it.
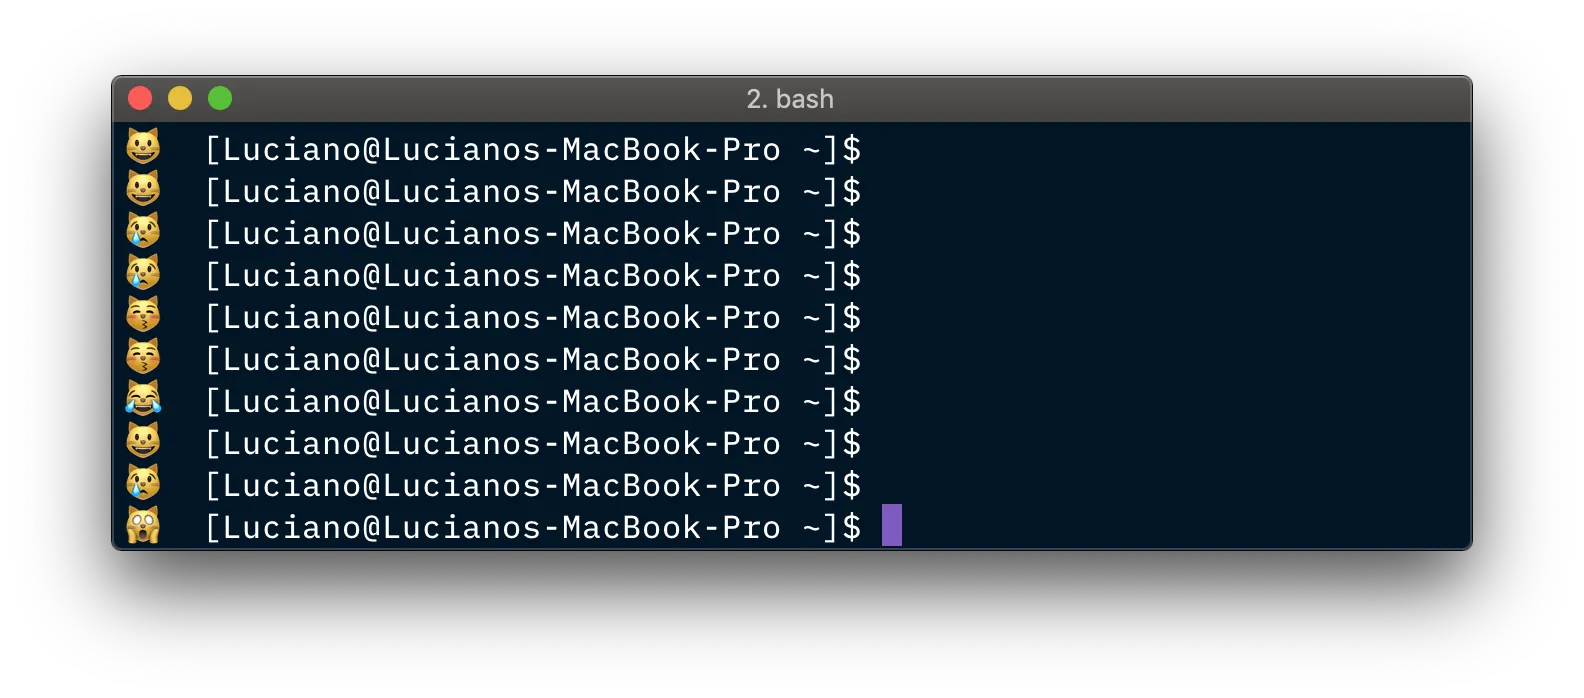
This is my terminal prompt:
If I could have a penny every time somebody asked me how did I put a random emoji in there, well… I wouldn’t probably be a millionaire, but I would definitely be able to afford few more coffees every day and be less sleepy 😴!
In this article I’ll explain how I emojified my terminal and, since it is very simple stuff, I’ll also try to explore some extra details on how to customize your bash experience.
Bash config
Bash customizations are generally made in a file saved in the user home directory. This file is generally called .bashrc (more common on Linux systems) or .bash_profile (more common on MacOS).
UPDATE: .bash_profile is executed for login shells, and .bashrc is executed for non-login shells. (Thanks to @colonelpanic for the correction here).
This file is essentially a Bash script file that gets loaded every single time you open a terminal session.
Here’s an example of a possible .bashrc file:
# Source global definitionsif [ -f /etc/bashrc ]; then  . /etc/bashrcfi
# various command shortcutsalias og='ls -ogrt'alias ll='ls -al'alias lc='ls -C'alias dir='ls -lrt' # in case you are a MS-DOS lover :Palias h='history'alias p='pwd -P'  # shows the "real" path in bash, not the path via symlinksalias et='emacs-tty'alias python=python2.7
# environmentexport PS1='[\u@\h \W]$ ' # Set the command prompt!export HOST=`uname -n`export EDITOR=vimexport PATH=$HOME/bin/:$PATH
As you can see, this script has the only goal of setting up your bash environment. For instance, you can load other configuration files (here we load a global configuration if it is available). You can define shortcuts and aliases for common commands. Finally, you can export environment variables, for instance to define your default text editor or to modify/extend your PATH (a list of directories where to look for executable commands).
The PS1 variable
We briefly touched on PATH and EDITOR. There are many other special variables in Bash that can be used to customize the look and feel and the behavior of your terminal.
One of those variables (the most important in this article) is called PS1. If I were a betting man, I would bet that the name stands for Prompt Style 1Prompt String 1!). PS1 allows you to define the look and feel of the primary bash prompt format.
In the configuration example above we are defining the PS1 variable as follows:
export PS1='[\u@\h \W]$ 'Which, in my personal laptop, renders like this:
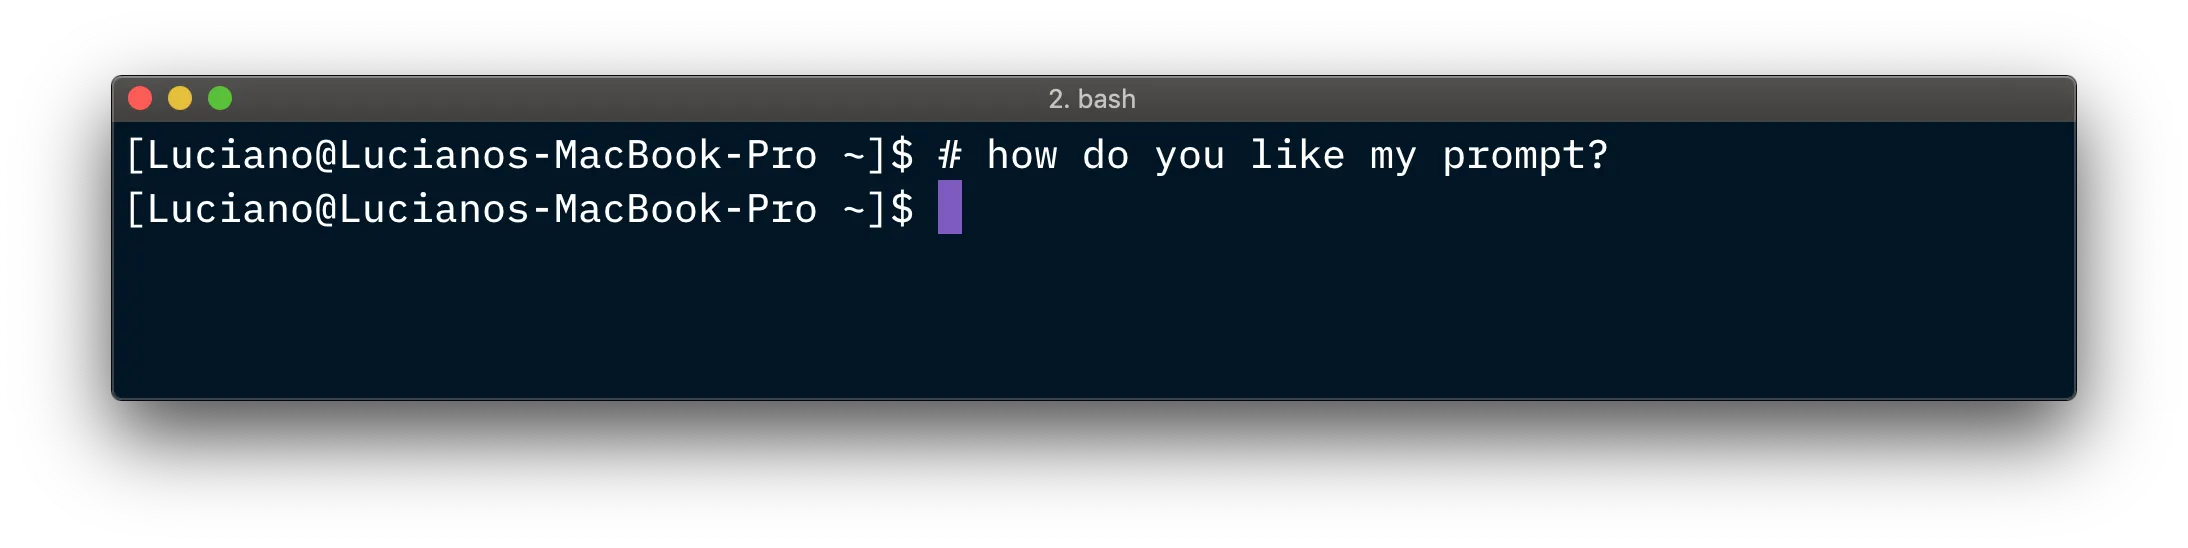
At this point, you are probably already grasping how this works. The PS1 variable acts as a template, where special escape sequences like \u and \h can be used to indicate “replace this with my actual username (and hostname)”.
There are several sets of escape sequences that might be supported on different operative systems and different types of console, but here’s a list of the most common and widely supported escape sequences:
\a: an ASCII bell character (07)\dthe date in “Weekday Month Date” format (e.g., “Tue May 26”)\hthe hostname up to the first `.’\Hthe full hostname\nnewline\sthe name of the shell, the basename of $0 (the portion following the final slash)\tthe current time in 24-hour HH:MM:SS format\Tthe current time in 12-hour HH:MM:SS format\@the current time in 12-hour am/pm format\uthe username of the current user\wthe current working directory\$if the effective UID is 0, a #, otherwise a $ (used to distinguish whether you are root or not)\\a backslash\[begin a sequence of non-printing characters, which could be used to embed a terminal con trol sequence into the prompt\]end a sequence of non-printing characters
For more comprehensive lists checkout:
👌 Pro tip: There’s also a
PS2variable, which is the secondary prompt displayed when a command needs more input (e.g. a multi-line command). This is generally set asPS2='> '.
AlsoPS3andPS4exist. Funny enough this is not a pun to PlayStation players… If you are curious to know what they are used for, Archlinux has a great section on terminal prompts.
The RANDOM variable
For our purpose, another useful Bash special variable is RANDOM. Its goal is very simple, as the name suggests, it always evaluate to a different random value.
Try to run the following command multiple times to have a feeling for it:
echo $RANDOMI just ran this command 5 times and this is the list of outputs I got:
3143425704324661037429063
To be more accurate, when using $RANDOM, we are not referencing a constant value or a variable, but an internal Bash function that returns a pseudorandom integer in the range [0-32767] (both values included).
This primitive is generally good enough when you need to do something random, like extracting an arbitrary element from an array.
Be careful though because this technique is not strong enough for security sensitive situations like generating an encryption key.
There are slightly more advanced use cases, for instance you might need to extract a random number over a smaller positive range. In such case you can use the modulo operator and do something like this:
SMALLER_RANDOM=expr $RANDOM % 22echo $SMALLER_RANDOMThis will print a number between 0 (included) and 22 (excluded).
For other more advanced use cases check out the dedicated $RANDOM section in the Advanced Bash-Scripting Guide.
Bash arrays
In Bash, an array is a variable containing multiple values. Any variable may be used as an array and there is no maximum limit to the size of an array.
You can define an array in several different ways. You can assign the elements of an array one by one over different assignment statements:
A[0]=1A[1]=2A[2]=3# ...In a more generic fashion, you can assign a value in an given array index with the syntax ARRAY[INDEX]=value, where INDEX is an expression that is evaluated to a non-negative integer.
Of course there is a shorter version that allows you to initialize an array with multiple elements with a single assignment instructions:
A=(1 2 3)When you want to read (dereference) a value out of an array you can do it this way:
echo ${A[2]} # 3This will print 3 as Bash arrays are zero-indexed.
If you want to reference all the elements in the array you can do it as follows:
echo ${A[*]} # 1 2 3or
echo ${A[@]} # 1 2 3The elements in an array can be also strings and you don’t need to wrap them in quotes (unless a string includes a space in it). For instance you can create the following array:
SPORTS=(Judo Jiu-jitsu 'Sicilian stick fighting')To loop over the elements of an array:
for SPORT in "${SPORTS[@]}"do  echo $SPORTdone
# prints:## Judo# Jiu-jitsu# Sicilian stick fighting
Finally, to get the length of an array you can use the following syntax:
echo ${#SPORTS[@]} # 3 (notice the "#" before the variable name)There is a lot more you can do with arrays. This is enough for what we want to achieve in this article, but if you are curious you can checkout the array section in the Bash Beginners Guide.
Putting it all together
Ok, now that we know about Bash config, Bash PS1 variable, Bash RANDOM and Bash arrays, we have enough knowledge to be able to render a random emoji in our terminal prompt.
Let’s try to write a simple .bashrc file that can do that:
# .bashrc (or .bash_profile)
# declares an array with the emojis we want to supportEMOJIS=(😺 😸 😹 😻 😼 😽 🙀 😿 😾)
# selects a random element from the EMOJIS setSELECTED_EMOJI=${EMOJIS[$RANDOM % ${#EMOJIS[@]}]};
# declare the terminal prompt formatexport PS1='${SELECTED_EMOJI}  [\u@\h \W]$ '
This will look as follows in my machine:
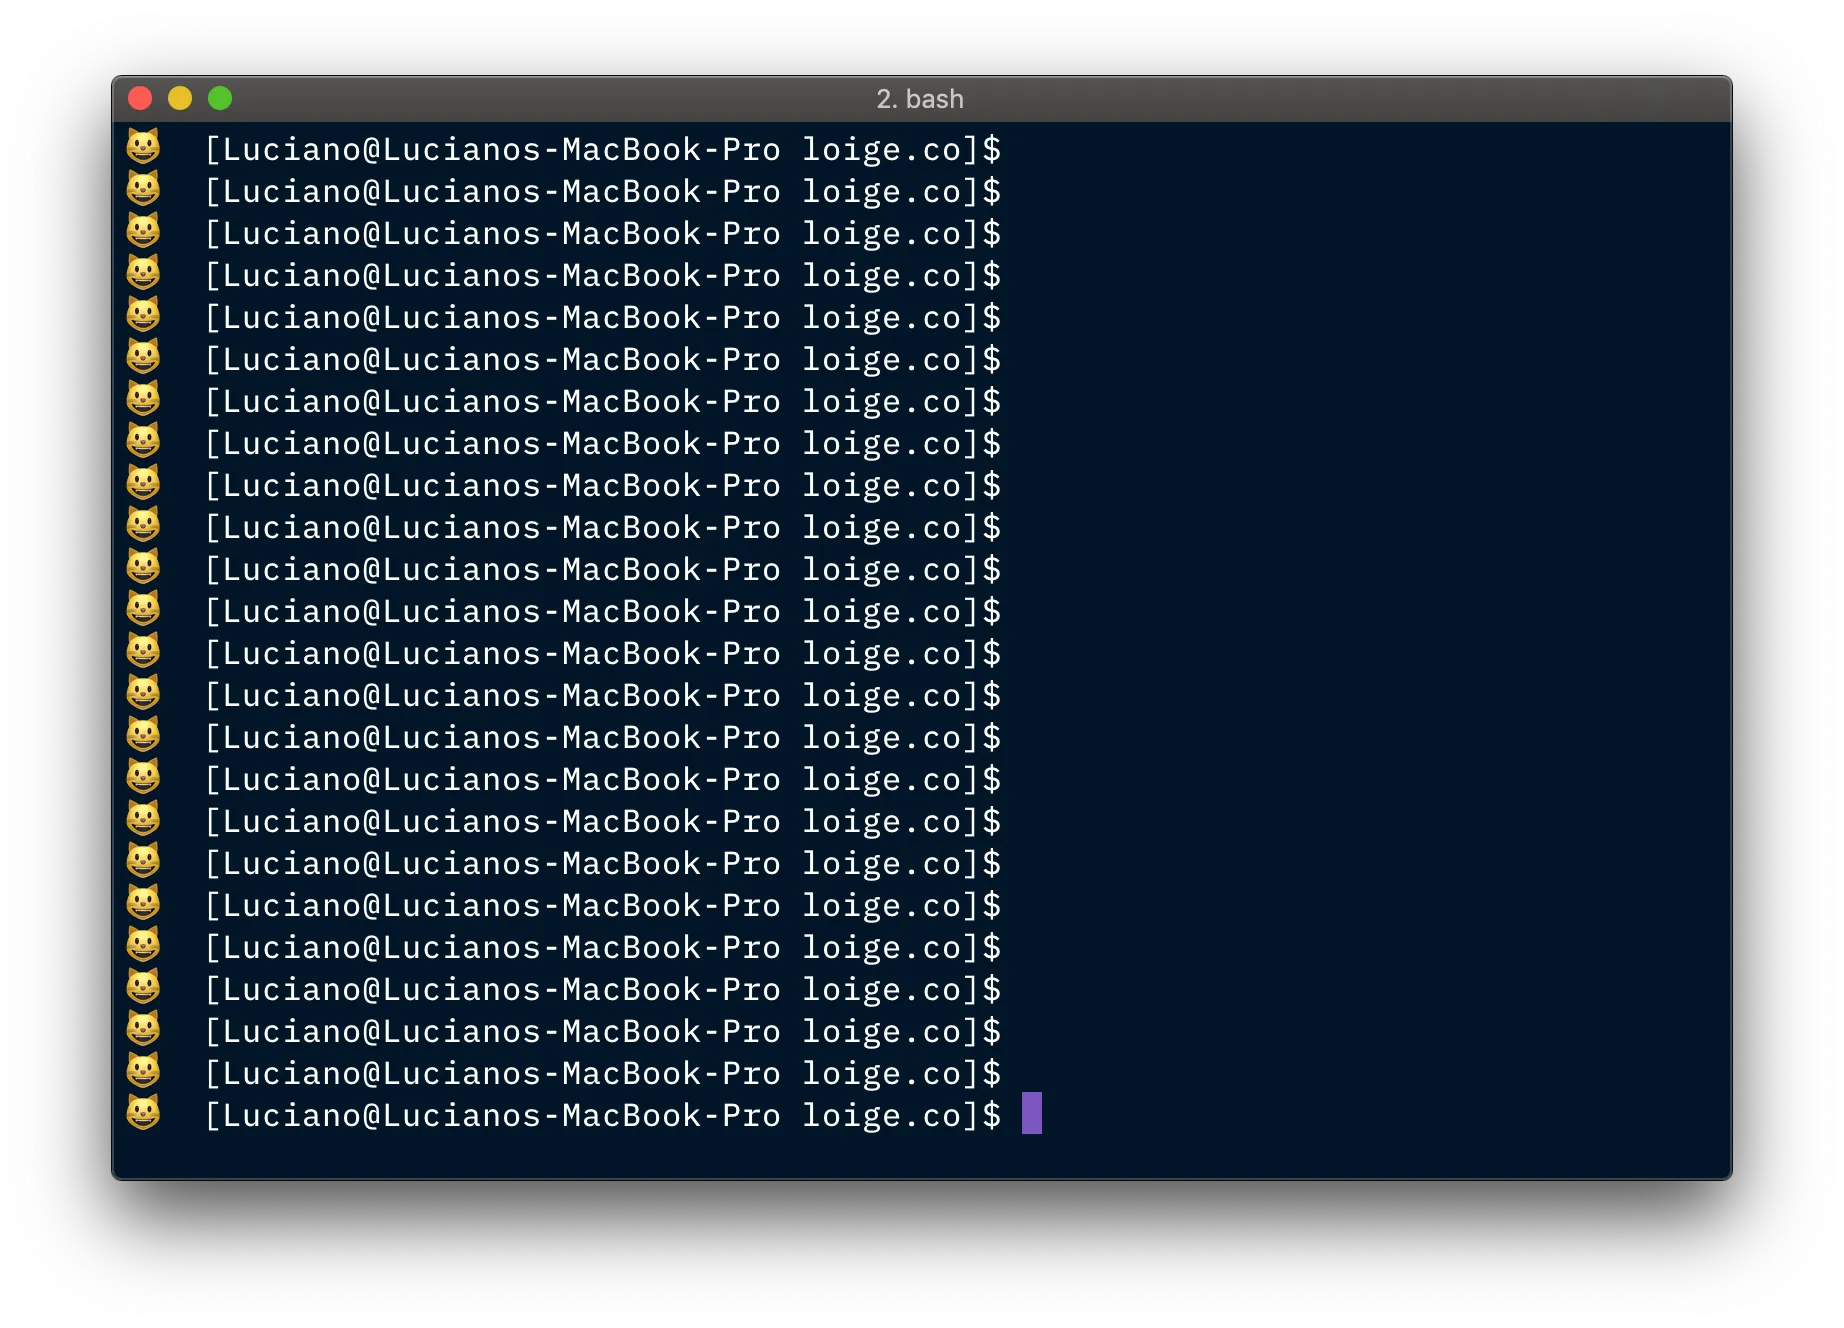
Well… as you can see there is something wrong with this… The emoji is always the same!
The problem here is that SELECTED_EMOJI gets computed only once when we open a new terminal window. At that point it behaves like a constant values, so our prompt will always look the same after that.
With this approach we essentially end up with a random emoji per session, not per command!
We can fix this by introducing a Bash function:
# .bashrc (or .bash_profile)
# declares an array with the emojis we want to supportEMOJIS=(😺 😸 😹 😻 😼 😽 🙀 😿 😾)
# function that selects and return a random element from the EMOJIS setRANDOM_EMOJI() {  SELECTED_EMOJI=${EMOJIS[$RANDOM % ${#EMOJIS[@]}]};  echo $SELECTED_EMOJI;}
# declare the terminal prompt formatexport PS1='$(RANDOM_EMOJI)  [\u@\h \W]$ '
Notice that we replaced ${SELECTED_EMOJI} with $(RANDOM_EMOJI) in our terminal prompt template. Previously we were just interpolating a variable in our terminal prompt, now we are actually invoking a function that extracts a random emoji every single time the prompt is rendered.
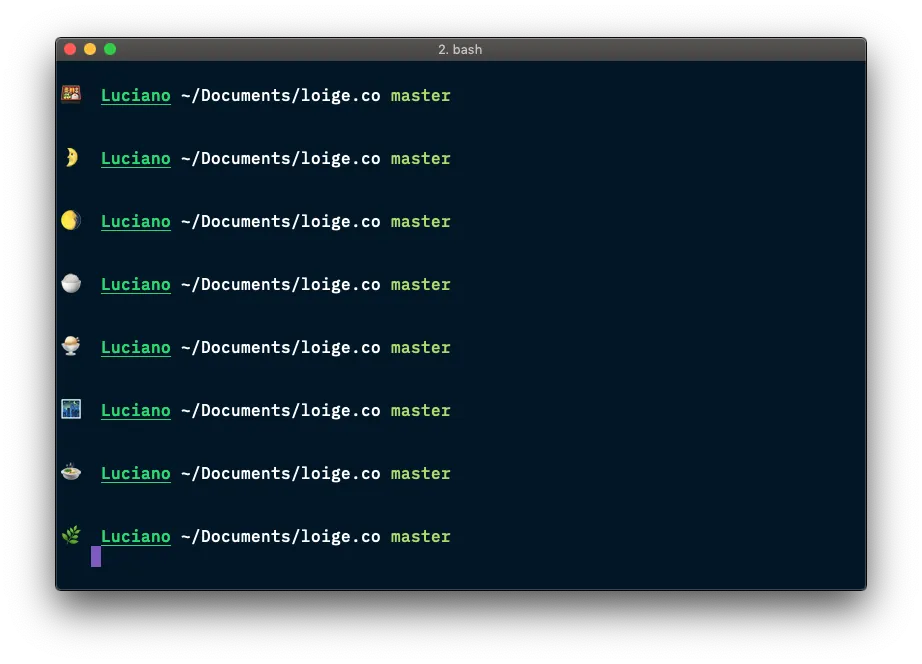
This is the new result:
Mission complete!
But wait, not so quick! Let’s go over all the code once again to make sure we understand what’s going on behind the scenes.
EMOJIS is just a simple array of strings, where every string is made up by just an emoji.
SELECTED_EMOJI inside our function RANDOM_EMOJI, is a dynamic value that gets initialized to a random emoji from the set of supported emojis (EMOJIS). This is the complicated part as it’s a one-liner made up by different expressions on the right-hand side of the assignment. Let’s break it down:
${#EMOJIS[@]}will be evaluated to the length of theEMOJISarray$RANDOM % ${#EMOJIS[@]}will calculate a random integer and normalize it to the number of elements in theEMOJISarray using the modulo operator, so this is essentially extracting a random index for theEMOJISarray.- Finally we use the result of this expression to dereference a random element from the array and we assign it to
SELECTED_EMOJI.
Pretty neat, right?
Bonus: bash formatting
You probably noticed that my prompt (as well as most people prompt) comes with some fancy colors and other formatting wonders like bold and underlined text.
Most terminals support different formatting options: bold, dim, underlined, blink, hidden, inverted and a number of different colors (for both background and foreground!).
This is done by prefixing the text with some special escape sequences.
To give you an example, let’s have a look at this code:
echo -e "My name is \033[32mLuciano\033[39m and my twitter handle is \033[1m@loige\033[21m"This will render as follows:
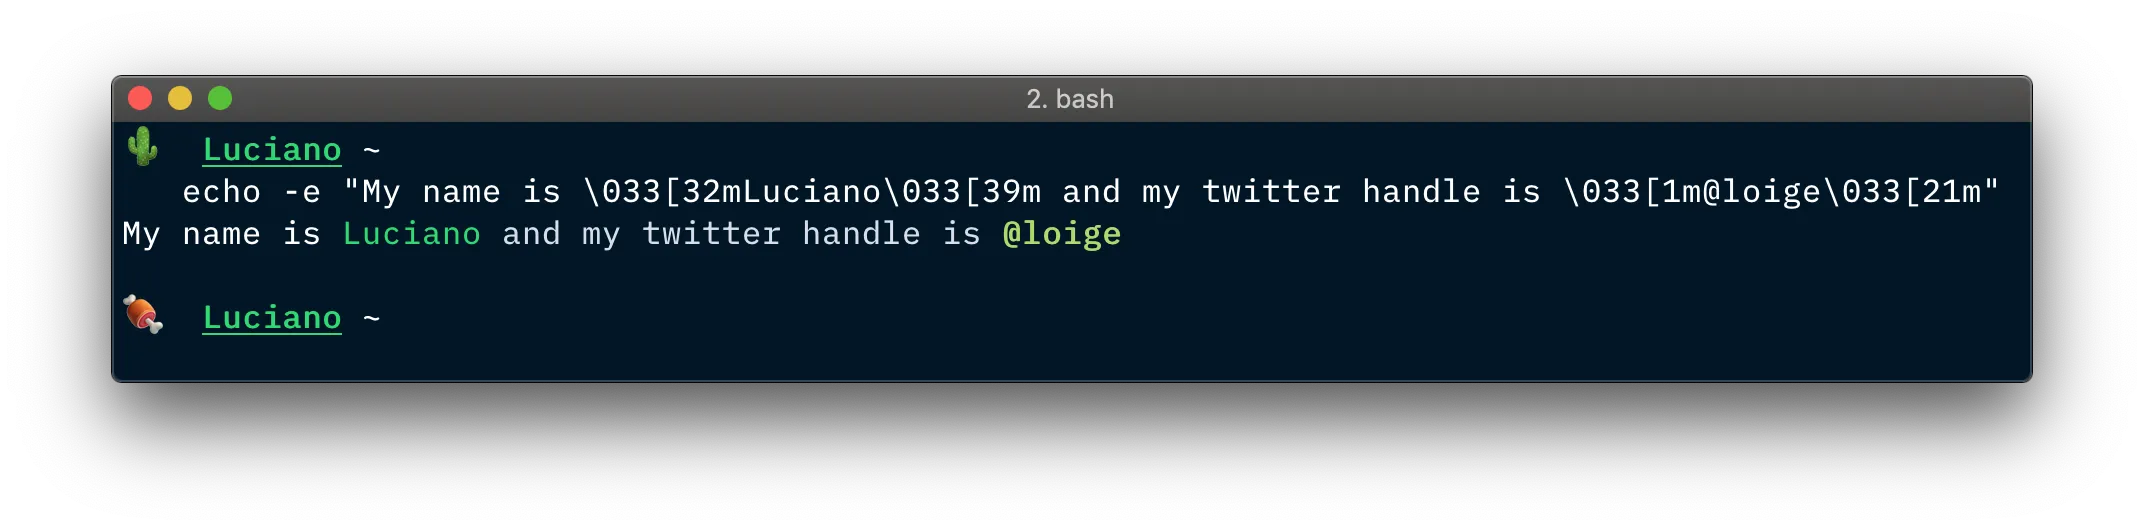
The way this works is by using a special escape sequence, the \033[ prefix sequence. This sequence can be parameterized to indicate the start or the end of different formatting options. The generic syntax is \033[_FormatCode_m, where _FormatCode_ will be replaced with some value to indicate different formatting options.
In my previous example:
\033[32mstands for “start color green”\033[39mstands for “start default color (color reset)”\033[1mstands for “start emphasis (or bold)”\033[21mstands for “reset emphasis (or end bold)”
Here is a table with different _FormatCode_ values and their effect.
_FormatCode_ | Description |
|---|---|
| 1 | Bold |
| 2 | Dim |
| 4 | Underline |
| 5 | Blink |
| 8 | Hidden |
| 0 | Reset all |
| 21 | Reset bold |
| 22 | Reset dim |
| 24 | Reset underline |
| 25 | Reset blink |
| 28 | Reset hidden |
| 39 | Default color |
| 30 | Black |
| 31 | Red |
| 32 | Green |
| 33 | Yellow |
| 34 | Blue |
| 35 | Magenta |
| 36 | Cyan |
| 97 | White |
| 49 | Default bg color |
| 40 | Black bg |
| 41 | Red bg |
| 42 | Green bg |
| 43 | Yellow bg |
| 44 | Blue bg |
| 45 | Magenta bg |
| 46 | Cyan bg |
| 107 | White bg |
For more information about additional formatting options checkout Bash tips: Colors and formatting.
Other ways to achieve similar formatting are tput and terminfo.
Bonus 2: my actual PS1!
I keep my .bash_profile public on GitHub (not because it’s cool, but because this way I can easily clone it into different machines).
If you are curious you can see how my bash-emojification is actually done or what else I put in my PS1 variable or even some aliases I use.
Feel free to tell me what you think or ask questions about it in the comment box in this article.
Bonus 3: A bash prompt generator
Of course there had to be a service online to help you with this stuff! It turns out there are many! If you want to build your fancy Bash prompt in a drag-and-dropppy or clicky-clicky way, checkout these links:
At this point, you should know enough to be able to build your own PS1 generator website! Maybe that’s an idea for you next hack-weekend!
Bonus 4: Use the return code
This is an amazing snippet from @bdesham on Lobste.rs.
function success_indicator() {    if [ $? -eq 0 ] ; then        echo "😎"    else        echo "💩"    fi}
export PS1='$(success_indicator) $ '
With this approach you won’t have a random emoji anymore but instead a very deterministic emoji given by the return code of the previous command. If the command exited successfully you will see a cool dude emoji, otherwise a surprised poop will show up on your prompt!
Why all of this?!
In the title of this article I said “how and why”, but if you have been careful you probably noticed I never really explained why you might want to go through all of this stuff!
Well, the real reason why you should care about this is because “why not?!”
Seriously, there isn’t a very strong reason why this stuff is important, it is definitely fun and interesting but you might be a fantastic developer even without having all this knowledge (and without emojis in your terminal)!
Anyway, if this answer is not convincing you, I can actually prove that emojis in your terminal will make you more productive. Try to put a toilet (🚽) or a poop (💩) emoji in your list of supported emojis. Next time you’ll mistype a command and you’ll randomly see a poop emoji, I can assure you that you’ll have a bit of fun, your morale will stay up and you’ll hopefully keep pounding your way on the keyboard enjoying your work 😎.
Whether you believe me or not on this, I hope I’ll see you soon in the next article 😜
Byez!
PS: A special thanks to all the people who contributed to this Lobste.rs thread. A lot of great insights! Also, thanks to @gschizas on Reddit for spotting some errors! 🙏